
You made a demo with Demosmith. It looks good. Now you want it on your website, landing page, docs, or blog post where prospects will actually see it.
The whole process takes about a minute. You copy an embed code from the Demosmith app, paste it into your site, and the demo plays directly on the page. No file hosting, no video encoding, no plugins. It works on any platform that supports HTML.
This guide walks through the exact steps for WordPress, React, Webflow, Squarespace, Notion, Ghost, and plain HTML. We also cover sizing, customization, and a few things that trip people up.
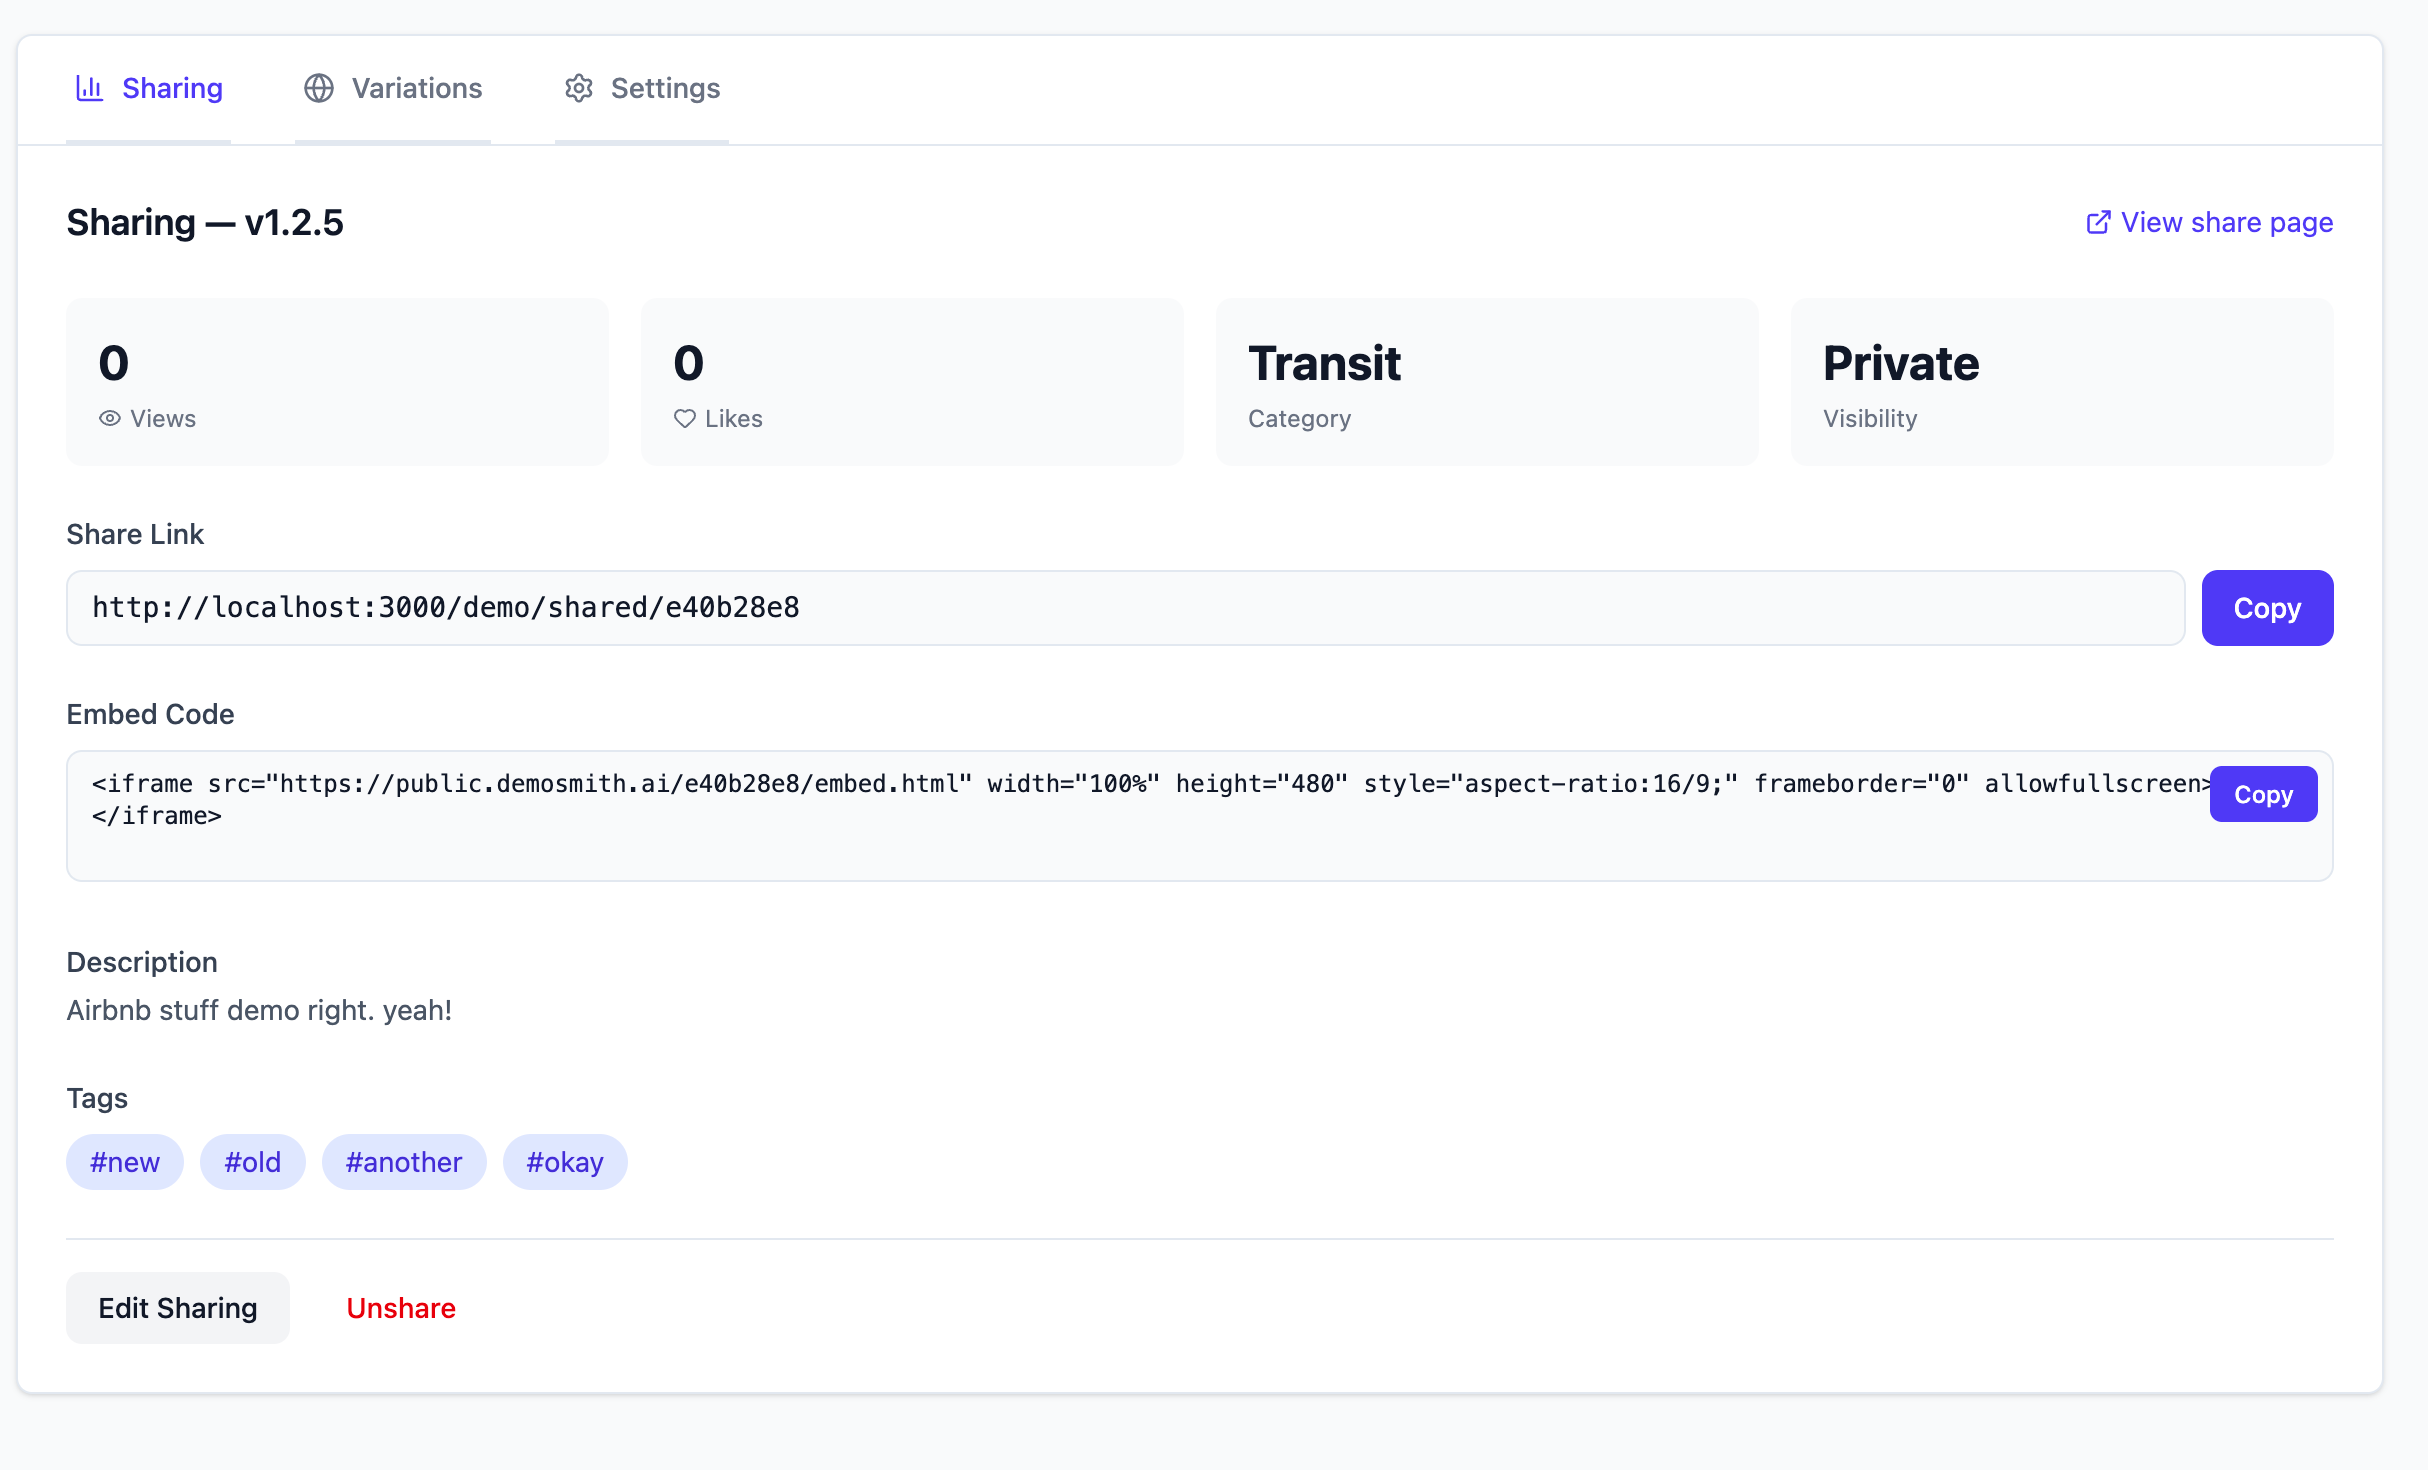
Get your embed code
First, you need a published demo. If you have not published a version yet, do that first. The embed only works with published versions.
Once your demo is published:
- Open the demo in the Demosmith app
- Go to the version you want to embed
- Click Share
- Open Embed Settings
- Copy the embed code
The embed code looks like this:
<iframe
  src="https://public.demosmith.ai/2dfaa671/embed.html"
  width="100%"
  height="480"
  style="aspect-ratio:16/9;"
  frameborder="0"
  allowfullscreen>
</iframe>
That is the entire thing. One iframe tag. The src URL points to your specific demo on Demosmith's CDN, so the video loads fast regardless of where the page is hosted.
Paste it anywhere
The embed works on any platform that lets you add custom HTML. That covers most website builders, CMS platforms, blog tools, and frameworks. If the platform has an "HTML block" or "embed element", it supports Demosmith embeds.
The pattern is always the same: find the HTML block, paste the iframe, save.
Platform-by-platform guides
WordPress
- Edit the page or post where you want the demo
- Add a Custom HTML block (in the block editor, search for "HTML")
- Paste the iframe code
- Switch to Preview to confirm it renders
- Publish
If you are using the Classic Editor instead of Gutenberg, switch to the "Text" tab (not "Visual") before pasting.
React / Next.js
Drop it into any component. JSX requires frameBorder (camelCase) and style as an object:
function DemoEmbed() {
  return (
    <iframe
      src="https://public.demosmith.ai/2dfaa671/embed.html"
      width="100%"
      height="480"
      style={{ aspectRatio: '16/9' }}
      frameBorder="0"
      allowFullScreen
    />
  );
}
For Next.js specifically, this works in both the App Router and Pages Router. No special configuration needed.
Webflow
- Open the page in the Webflow Designer
- Add an Embed element from the Components panel
- Paste the iframe code into the code editor
- Click Save & Close
- Publish the site
Webflow does not render embeds in the Designer preview. You need to publish or use the staging URL to see it.
Squarespace
- Edit the page
- Add a Code block
- Paste the iframe code
- Save
Make sure the "Display Source" toggle is off.
Notion
Notion does not support raw HTML, but it does support embed URLs.
- Type
/embedin a Notion page - Paste just the
srcURL (not the full iframe tag):https://public.demosmith.ai/2dfaa671/embed.html - Press Enter
- Resize the embed block by dragging the edges
Ghost
- In the Ghost editor, click the + button to add a card
- Select HTML
- Paste the iframe code
- Click outside the card to close
Plain HTML / Static Sites
Paste the iframe directly into your HTML file wherever you want the demo to appear:
<!-- Product demo -->
<iframe
  src="https://public.demosmith.ai/2dfaa671/embed.html"
  width="100%"
  height="480"
  style="aspect-ratio:16/9;"
  frameborder="0"
  allowfullscreen>
</iframe>
No dependencies, no JavaScript, no build step. It works in any HTML file.
Customize the embed
The Embed Settings panel in the Demosmith app lets you configure three things before you copy the code:
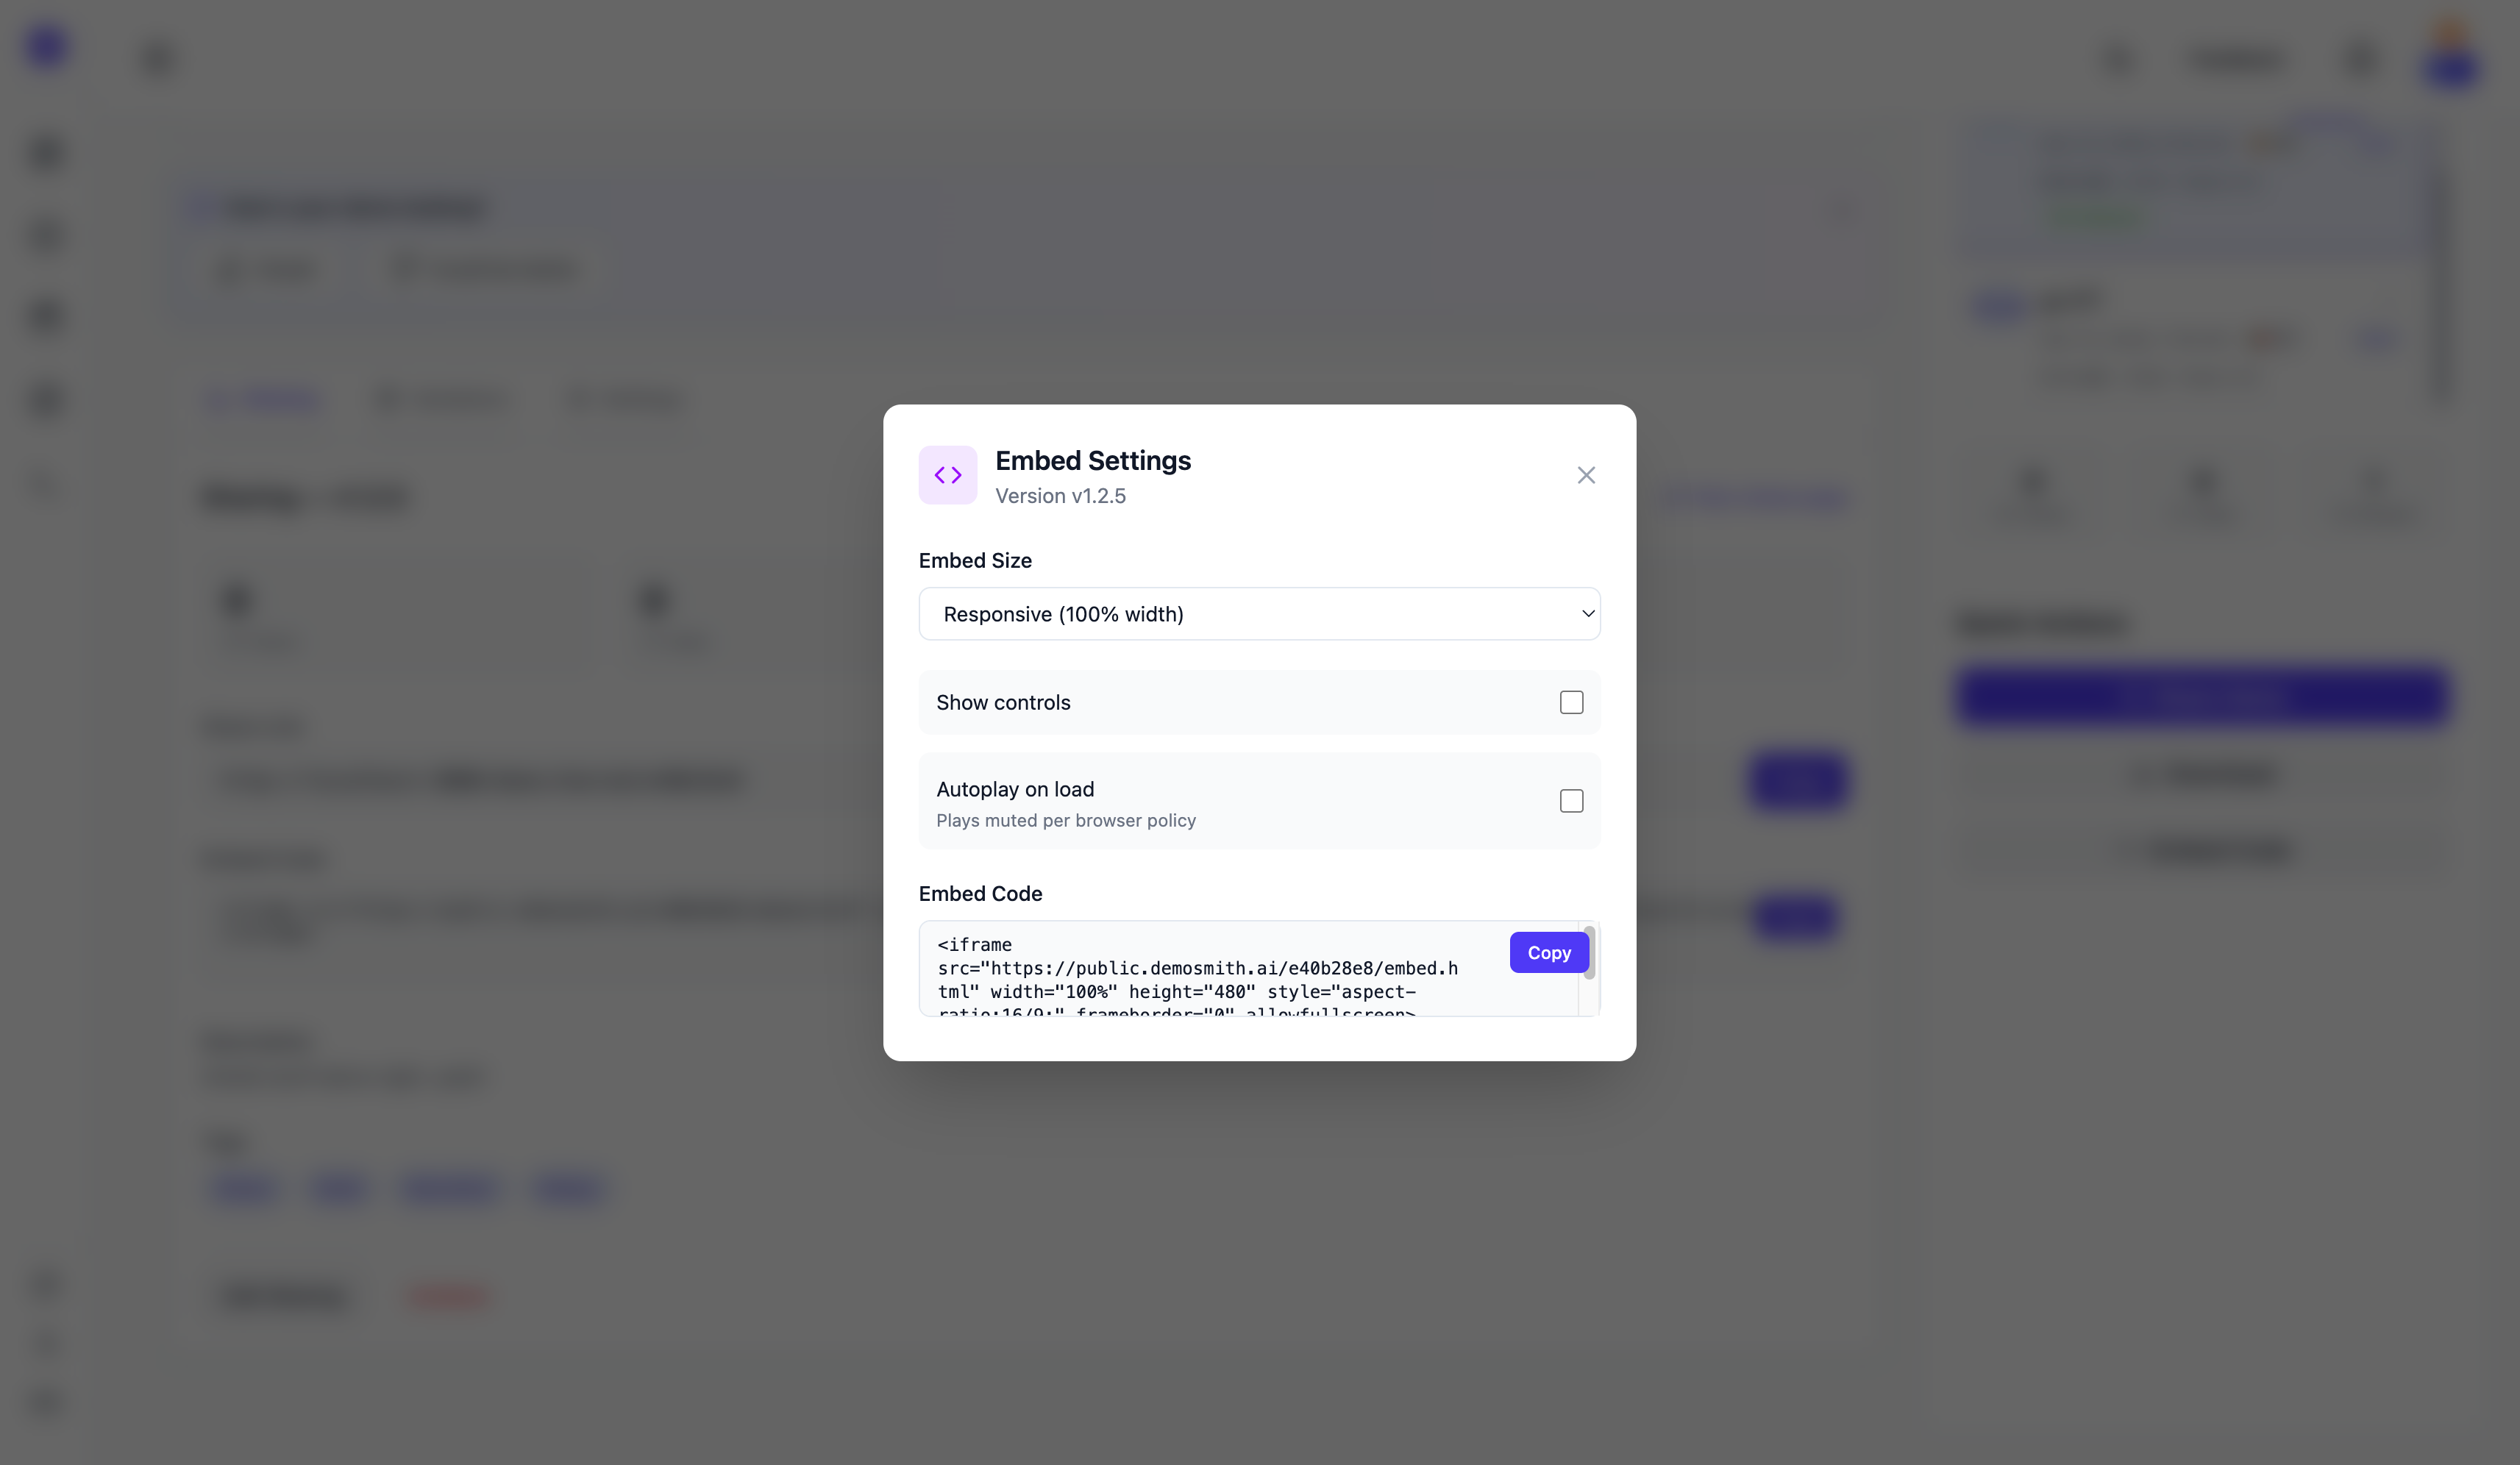
| Setting | Options | Default |
|---|---|---|
| Size | Responsive (fills container) or Fixed (custom width and height) | Responsive |
| Show controls | Play/pause, progress bar, volume | On |
| Autoplay | Start playing when the page loads (muted) | Off |
Changes update the embed code and preview instantly. You do not need to re-publish the demo to change embed settings.
Sizing for different layouts
The default responsive embed fills whatever container it sits in. That works for most cases. But if you need specific dimensions, here are three common patterns.
Full width (blog posts, landing pages)
<iframe
  src="https://public.demosmith.ai/2dfaa671/embed.html"
  width="100%"
  height="480"
  style="aspect-ratio:16/9;"
  frameborder="0"
  allowfullscreen>
</iframe>
The aspect-ratio: 16/9 keeps the video proportional as the container width changes. No black bars, no cropping.
Fixed size (sidebars, widgets)
<iframe
  src="https://public.demosmith.ai/2dfaa671/embed.html"
  width="400"
  height="225"
  frameborder="0"
  allowfullscreen>
</iframe>
Use fixed dimensions when the embed sits in a constrained space like a sidebar or a card component.
Centered with max width (docs, knowledge bases)
<div style="max-width:800px; margin:0 auto;">
  <iframe
    src="https://public.demosmith.ai/2dfaa671/embed.html"
    width="100%"
    height="450"
    style="aspect-ratio:16/9;"
    frameborder="0"
    allowfullscreen>
  </iframe>
</div>
This prevents the video from stretching too wide on large screens while staying centered and responsive.
Tips and gotchas
Each version has its own embed
If you have a demo in multiple languages, each language version gets a separate embed URL. Put the English embed on your English page, the Spanish embed on your Spanish page. The embed code in each version's Share panel reflects the correct URL.
New versions need a new embed
Each version has its own embed URL. If you create a new version of your demo (updated narration, different flow, new UI), you need to share the new version and copy its embed code. The old embed keeps working until you unshare it. To swap, paste the new embed code on your site and unshare the old version.
Autoplay is muted by default
Every modern browser blocks autoplaying video with sound. If you enable autoplay, the demo starts playing when the page loads, but it plays muted. Visitors click to unmute. This is a browser-level restriction, not a Demosmith limitation.
Unpublishing breaks the embed
If you unpublish or delete the demo version, the embed URL stops working. The iframe will show a blank page. Before unpublishing, check whether the version is embedded anywhere.
Performance
The video loads from Demosmith's CDN. It does not affect your site's server load or page weight. The iframe itself adds minimal overhead to initial page load since it loads the video content asynchronously.
If you want to learn more about writing effective Demosmith prompts to create better demos for embedding, we have a dedicated guide.
Conclusion
Embedding a Demosmith demo takes about a minute: copy the iframe code, paste it into your platform, done. The embed is responsive by default, loads from a CDN, and updates automatically when you re-render.
You can put demos on landing pages to show prospects exactly how your product works, in docs to replace screenshots that go stale, in blog posts to demonstrate what you are writing about, or in emails as a linked thumbnail. The embed works the same everywhere.
The best product demo is one that lives where your prospects already are, not behind a "request a demo" form.
Key takeaways
- Publish your demo version first, then go to Share and copy the embed code from Embed Settings.
- The embed works on any platform that supports HTML: WordPress, React, Webflow, Squarespace, Notion, Ghost, and plain HTML.
- Responsive sizing fills the container width by default. Use fixed dimensions for sidebars or constrained spaces.
- Each version has its own embed URL. New versions need a new embed code. Unshare the old version after swapping.
- Each language version has its own embed URL. Match the embed to the page language.
- Autoplay is always muted due to browser restrictions. Visitors click to unmute.