You can create an interactive demo in an afternoon with a Chrome extension tool, or in minutes with an AI agent. The process is the same either way, and most of the work is thinking, not clicking. This guide breaks the work into five steps, and every step applies whether you use Supademo, Navattic, Storylane, or Demosmith.
Most first demos fail the same way. They tour the feature list screen by screen, run twenty steps long, and lose the viewer before the part that matters. The fix is not a better tool. It is a narrower promise, which is where the process starts.
If the format itself is new to you, our definition of what an interactive demo is covers the mechanics and the four capture types first. This page is the how-to.
Before you start
Two decisions shape everything downstream, and neither involves software.
First, the audience. One demo serves one persona solving one problem. A demo for a marketing lead evaluating your analytics should not detour through admin settings. Teams that try to serve every audience with one tour end up with a tour no audience finishes.
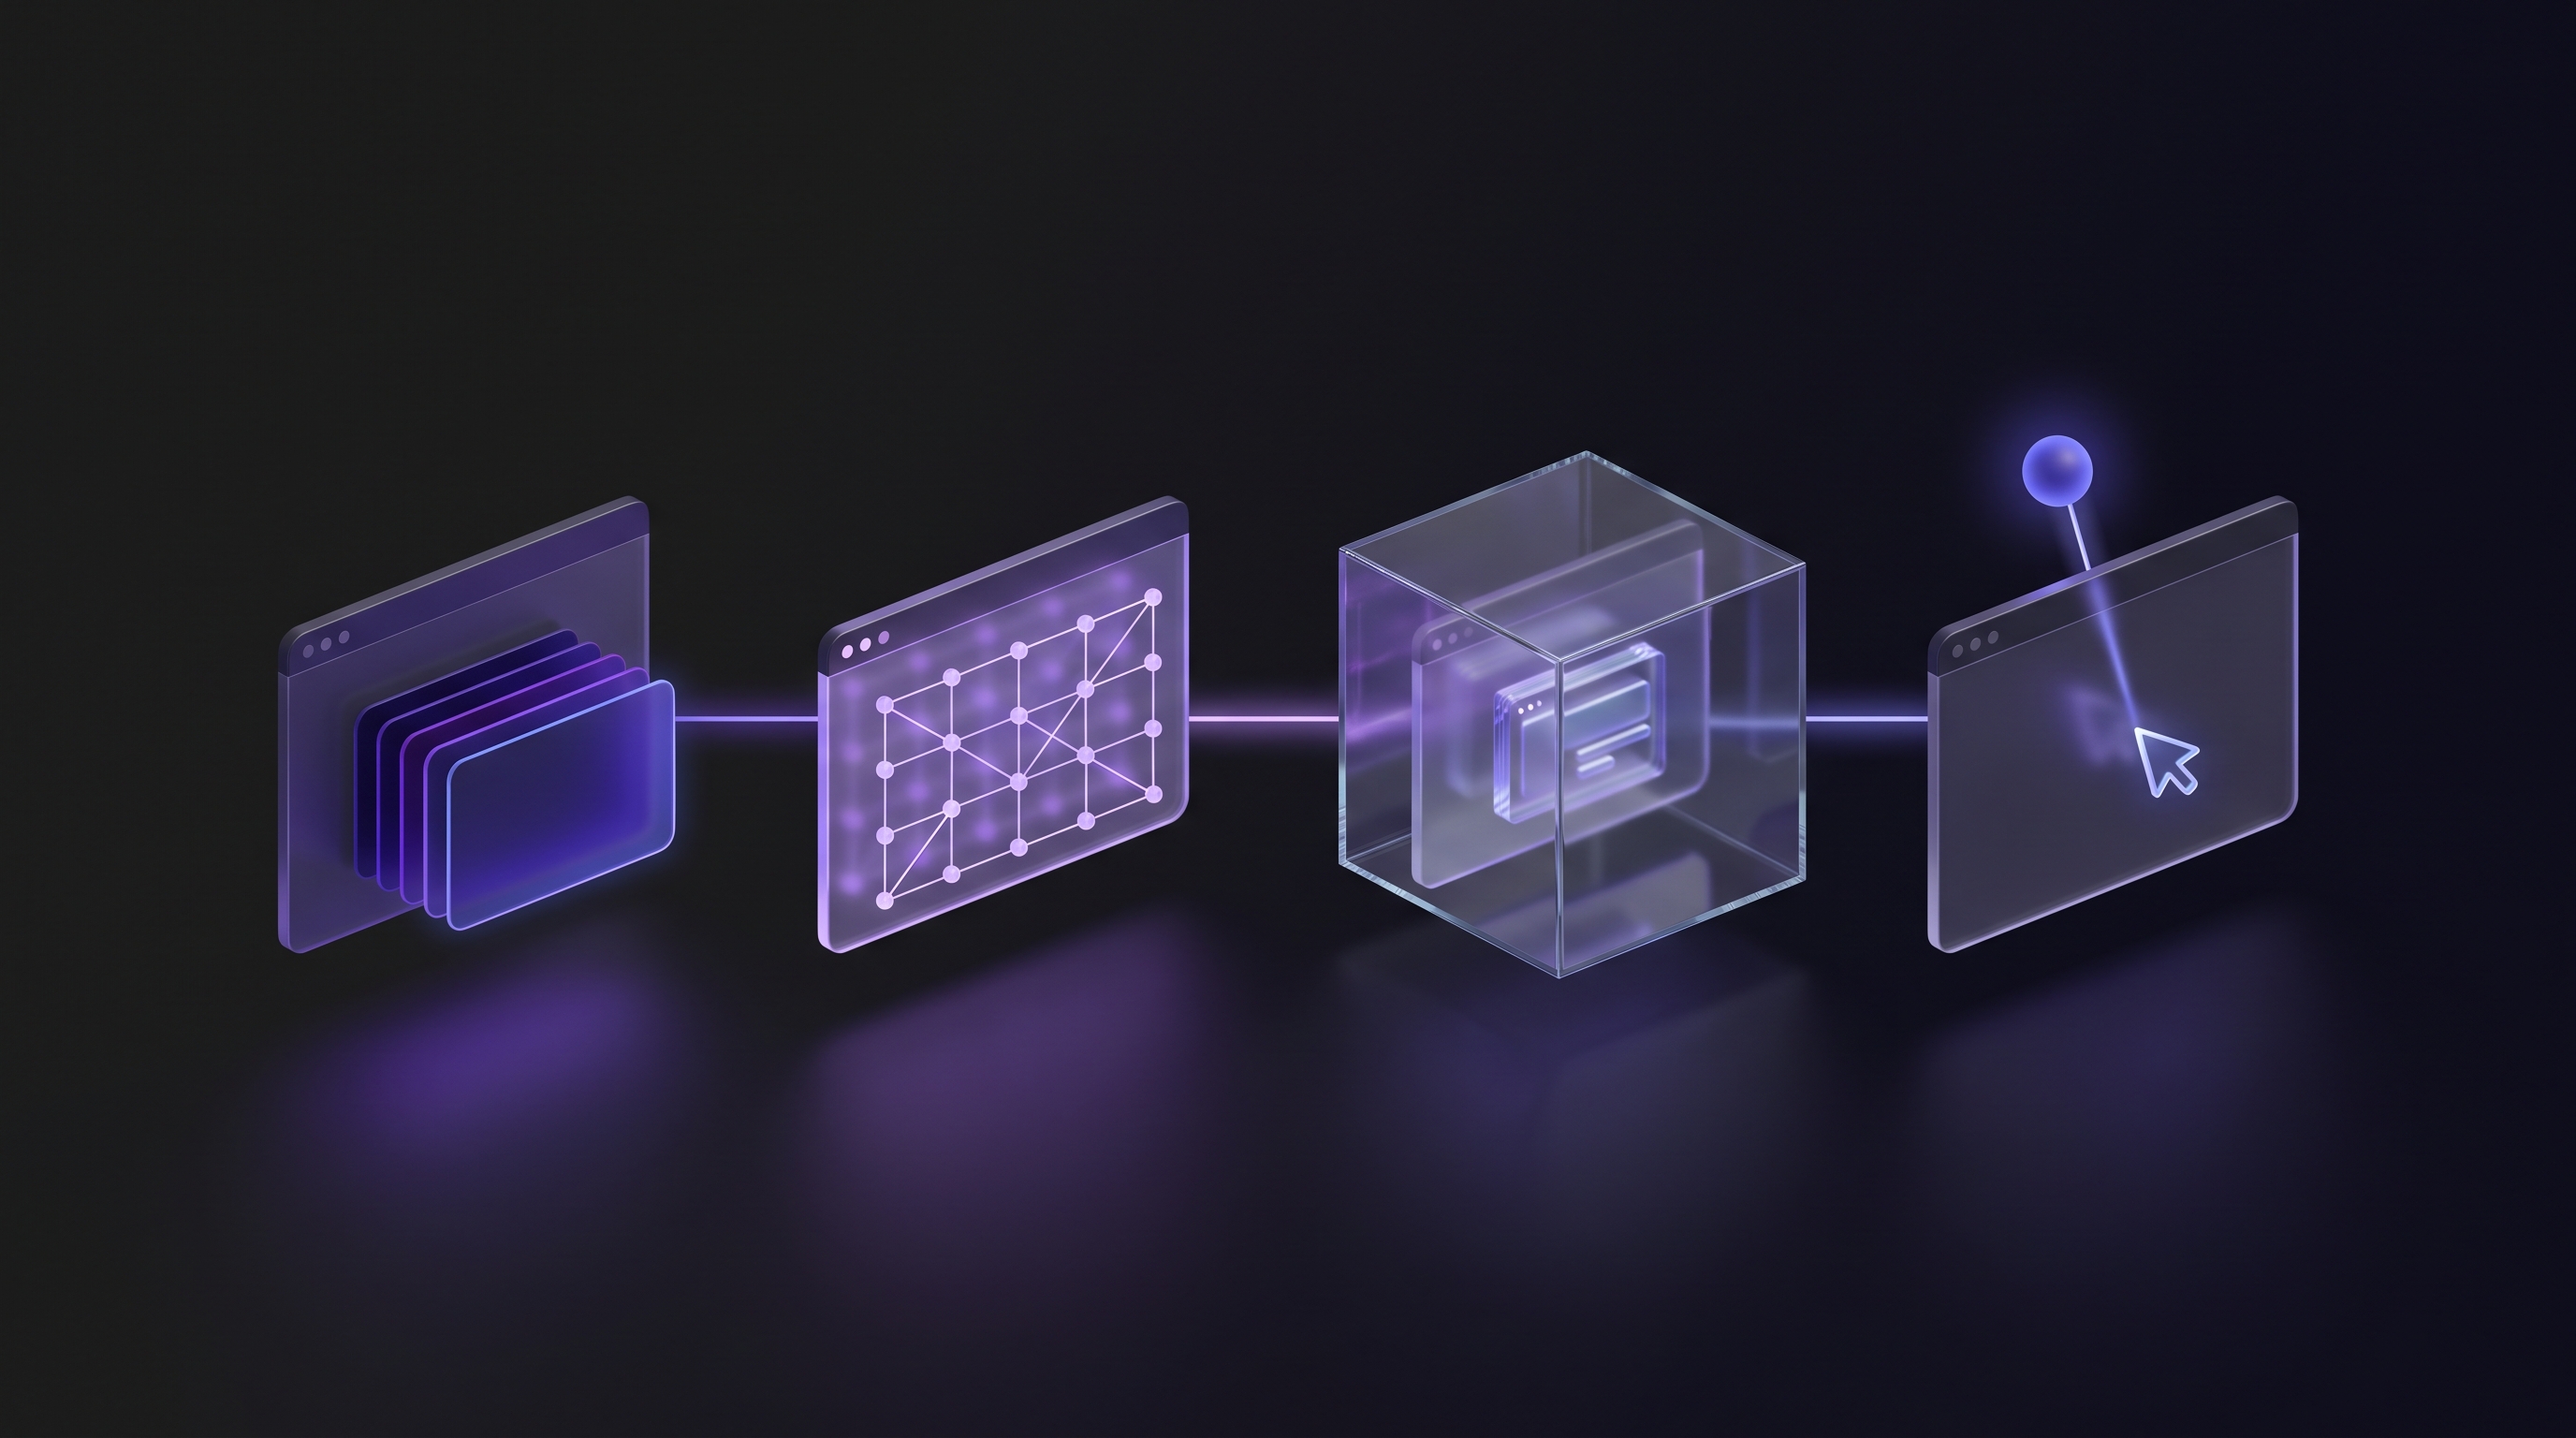
Second, the format. There are four capture types on the market, and picking one is the most consequential choice in this process because it sets fidelity, maintenance burden, and price. The short version: screenshot tours are fast and cheap, HTML capture looks most real, sandboxes let buyers explore freely, and agent-recorded demos are produced from a written prompt. If you are still comparing tools, our roundup of the best interactive demo software in 2026 lays out all ten side by side.
Step 1: Start from the buyer's problem
Write one sentence before you open any tool: this demo shows [audience] how to [outcome] in [timeframe]. A concrete example: this demo shows a marketing manager how to build a conversion report in two minutes.
That sentence is your editor. Every screen you capture either advances it or gets cut. When you are unsure about a step later in the process, the sentence decides, not your enthusiasm for the feature.
The best place to find the right problem is your sales calls or support tickets. The question prospects ask most often before buying is usually the demo worth building.
Step 2: Choose your capture format
Match the format to where the demo will live. A public marketing page rewards fidelity, because the viewer is deciding whether to care at all. HTML capture does that job best. An internal enablement doc tolerates screenshots, because the viewer already cares. A technical evaluation needs a sandbox, because the buyer needs to click around, not follow a path.
Price follows the format. Screenshot tools publish free tiers and paid plans from $35 to $50 per month. HTML capture effectively starts near $500 per month. Sandboxes run from hundreds per month to five figures a year. If your first demo is an experiment, start on a free tier and upgrade when the format proves itself.
One more format question: will you also need video? If the answer is yes, and for outbound email it usually is, an agent-recorded approach produces an interactive demo and an MP4 from the same run, which saves maintaining two capture habits in two tools.
Step 3: Capture the smallest flow that reaches the aha moment
Capture the shortest path from empty screen to the moment the viewer understands your value. Aim for six to eight screens. The benchmark data is blunt about why: HowdyGo measures completion at roughly 63 percent for demos of six to eight steps, against 32 percent for demos of 21 or more.
With an extension tool, you install the Chrome extension, open a clean test account, and click through the flow once. Use an account with no real customer data visible, and log out of anything personal before you start. Blur or clean anything sensitive before it ever lands in the capture.
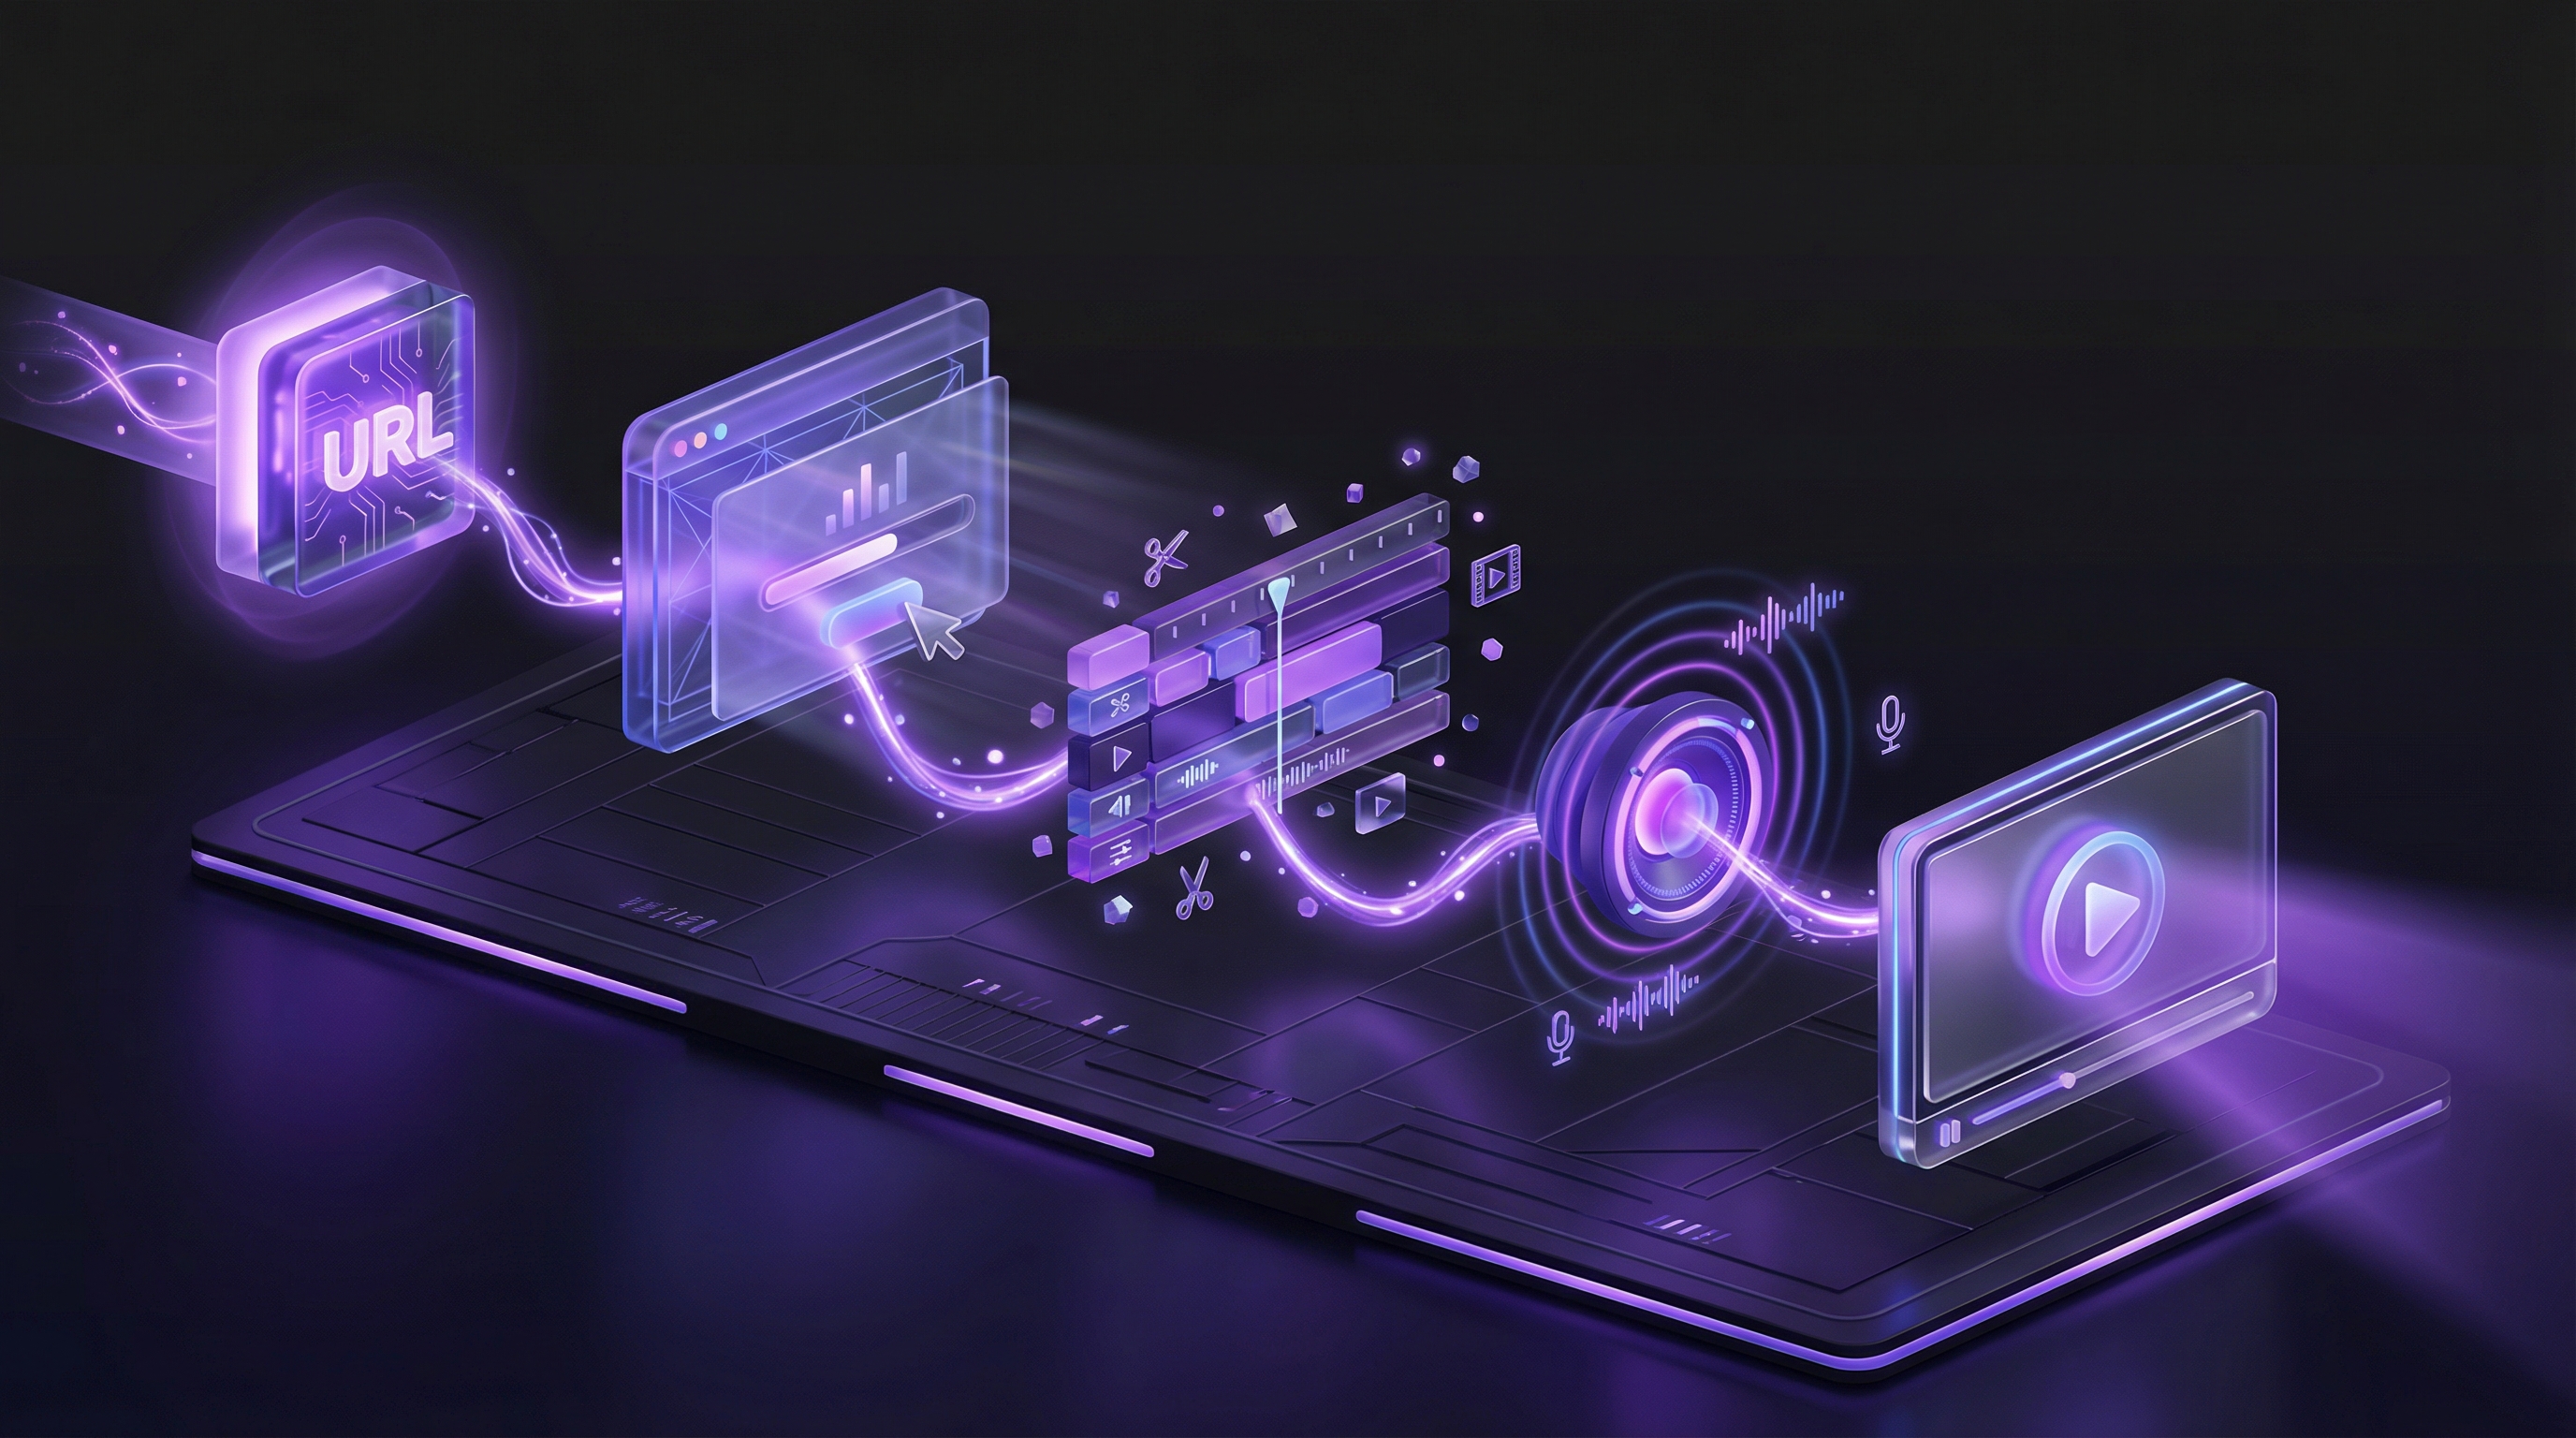
With an agent, you skip the clicking. You paste your product URL and describe the flow in plain English, and the AI demo agent navigates the product and records what it sees. You still review the captured steps afterwards; the agent handles the performance.
Step 4: Edit for story
Cut first, decorate second. Go through the capture and remove every screen that does not advance the sentence you wrote in step 1. First drafts are almost always twice as long as they should be.
Then the details. Tooltips should be one short line each, written in the viewer's language, not your UI's labels. Blur any data that slipped through capture. Keep branding consistent with the page the demo will sit on. End with a single call to action that matches the promise: start a trial, book a call, or read the docs.
The lead gate deserves its own decision rather than a default. Two thirds of top-performing demos in Navattic's 2026 analysis run ungated, because a gate trades reach for contact details. If your demo's job is education and reach, skip it. If the demo exists to generate leads, gate it and make the copy worth the trade.
Step 5: Publish and measure
Place the demo where intent already exists: next to the signup button, inside the docs for the feature it shows, or in the follow-up email after a sales call. A demo buried on its own landing page collects nothing.
Then watch two numbers: completion rate and per-step drop-off. Completion tells you if the promise was right. Drop-off tells you which step broke it. The top one percent of demos in Navattic's dataset run 56 percent engagement and 48 percent completion, so judge yourself against the field, not against perfection.
Fix the single worst drop-off step, republish, and stop. Iterating five steps at once teaches you nothing about which change worked.
Extension or AI agent: which workflow fits
The manual workflow gives you control. You walk the flow, the extension captures exactly what you clicked, and the editor gives you fine control over every hotspot and tooltip. Teams with a polished flow and a design-minded owner get good results this way.
The agent workflow gives you speed and coverage. Nobody performs the capture, the flow description is the capture, and the same run produces video and documentation alongside the tour, which matters if outbound video is also on your list. The honest trade: agent tools give up the deep editors, and a guided tour from an agent is not a sandbox. Our comparison of the best AI demo video generators covers what the video side of that trade looks like.
Conclusion
Five steps, and only two of them happen inside a tool. Pick one audience and one promise. Choose the capture format for where the demo will live. Capture the smallest path to the aha moment. Edit down until every screen earns its place. Publish where intent exists and measure drop-off, not applause.
The tool records the demo in minutes. The promise takes the afternoon, and the promise is the demo.
Key takeaways
- Write a one-sentence promise before opening a tool: this demo shows [audience] how to [outcome] in [timeframe]. Every later decision defers to it.
- Choose the capture format by placement: HTML capture for public pages, screenshots for enablement, sandboxes for evaluation, agent recording when you also need video.
- Capture six to eight screens. Completion roughly halves when demos run past twenty steps.
- Decide the lead gate consciously. Two thirds of top-performing demos run ungated.
- Publish where intent already exists, then fix one drop-off step at a time, judged against field benchmarks like 48 percent completion for the top one percent.